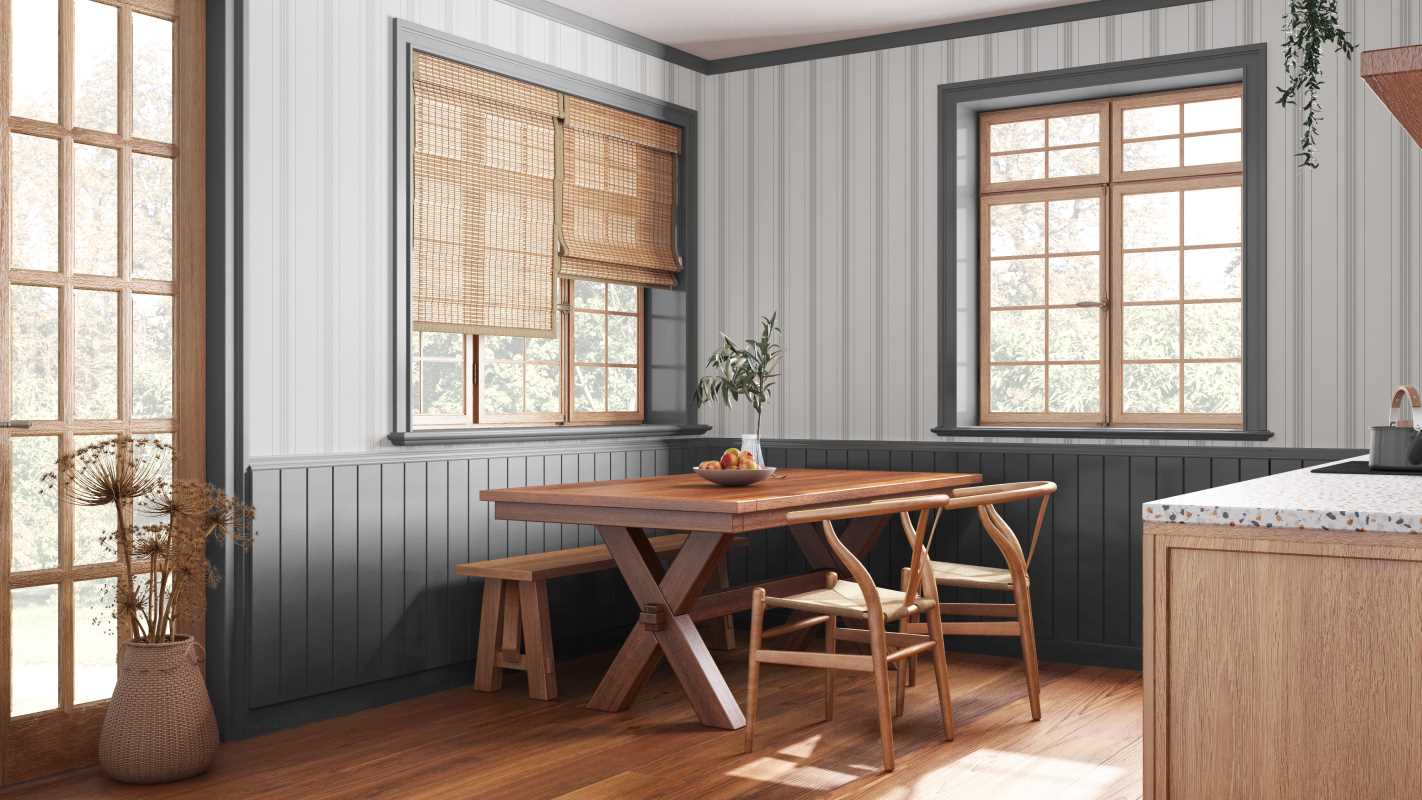
Refinishing wood furniture or floors can breathe new life into your space, giving it a fresh and polished look. With the right tools and a bit of patience, you can easily tackle a refinishing project. Here is a step-by-step guide to refinishing wood that will help you achieve professional-looking results without breaking the bank.
Refinishing Wood
Preparation is key when it comes to refinishing wood. Start by removing any existing finish using a chemical stripper or sandpaper. Next, clean the wood surface thoroughly to remove any dirt or debris that could affect the finish. Make any necessary repairs, such as filling in cracks or holes, before moving on to the next step.
Once the wood is prepped and ready, it's time to sand the surface to smooth out imperfections and create a clean, even base for the new finish. Start with a coarse-grit sandpaper to remove any rough spots, then gradually move to finer grits for a smooth finish. Be sure to sand in the direction of the wood grain to avoid scratches and swirl marks.
After sanding, it's important to apply a wood conditioner to help the wood absorb the stain evenly. This step is especially important for softwoods like pine or cherry, which can absorb stain unevenly if not properly conditioned. Once the conditioner has dried, apply your chosen stain using a brush or cloth, following the manufacturer's instructions for drying time and application techniques.
Once the stain has dried, it's time to apply a protective finish to seal and protect the wood. Choose a finish that suits your desired look and level of durability, whether it be a clear varnish for a natural look or a colored paint for a more dramatic finish. Apply the finish in thin, even coats, allowing each coat to dry completely before applying the next.
After the final coat of finish has dried, take a step back and admire your handiwork. Refinishing wood can be a time-consuming process, but the results are well worth the effort.
Final Thoughts
With a bit of elbow grease and the right tools, you can transform tired, worn-out wood into a beautiful centerpiece for your home. So roll up your sleeves, grab your sandpaper, and get ready to refinish your way to a whole new look for your space.
(Image via Adobe)
 (Image via


